3. Installing Tapis Libraries
Overview
Questions
- How do we bring Tapis libraries into our Jupyter notebook?
Objectives
- Open the HPC terminal in the browser.
- Use pip to install python libraries.
- Import libraries and test them out in a Jupyter notebook.
Open a terminal
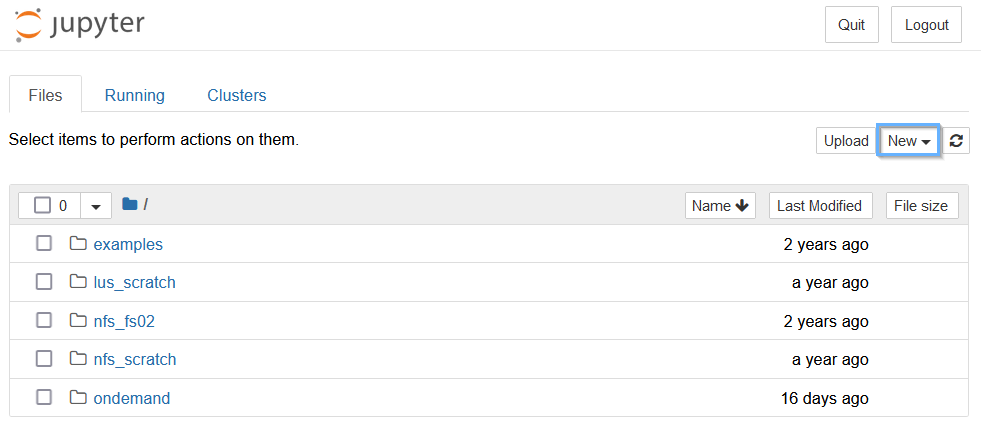
First we’ll want to open a terminal on the node that our notebook is running on. To do this, go to the tab where you opened the notebook from, and click “New”.
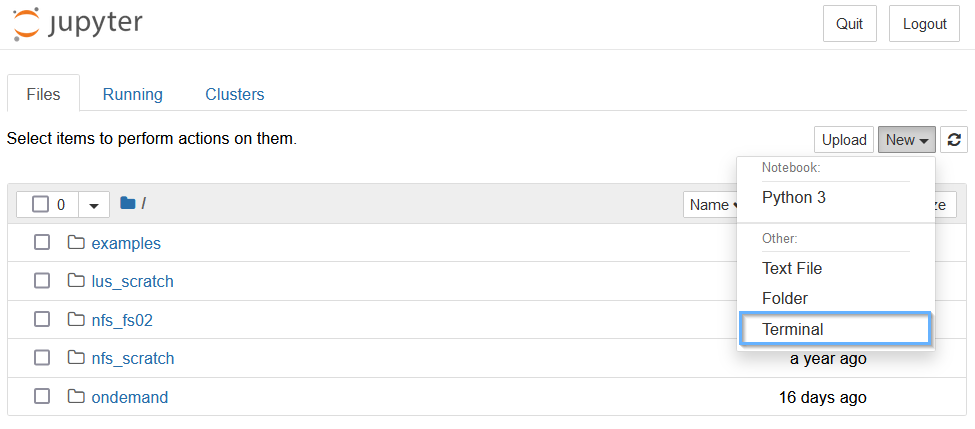
Next, click “Terminal” from the drop-down bar.
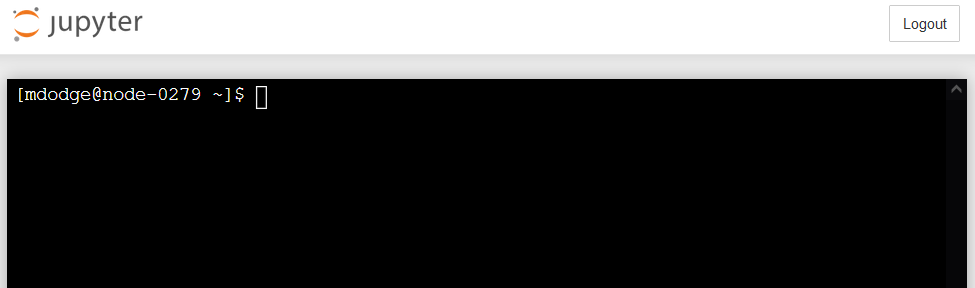
You should now be brought to a terminal connected to the virtual machine.
Heads up!
On your first time using a Koa terminal, it will show a “do you trust this system” prompt, simply type “yes” and enter.
Now that we have a terminal, it’s time to install some python packages!
Install tapipy
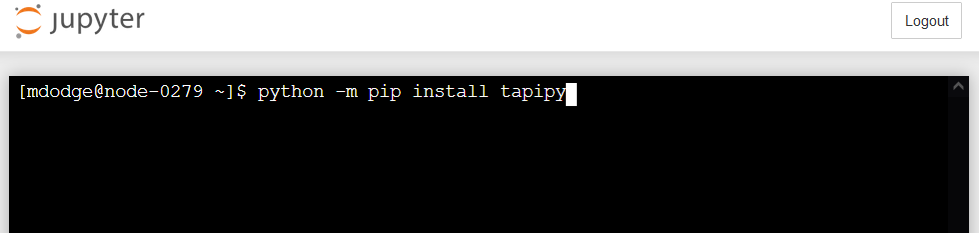
Let’s install the tapipy package, which includes functions that help us work with the Tapis system.
Run the following command:
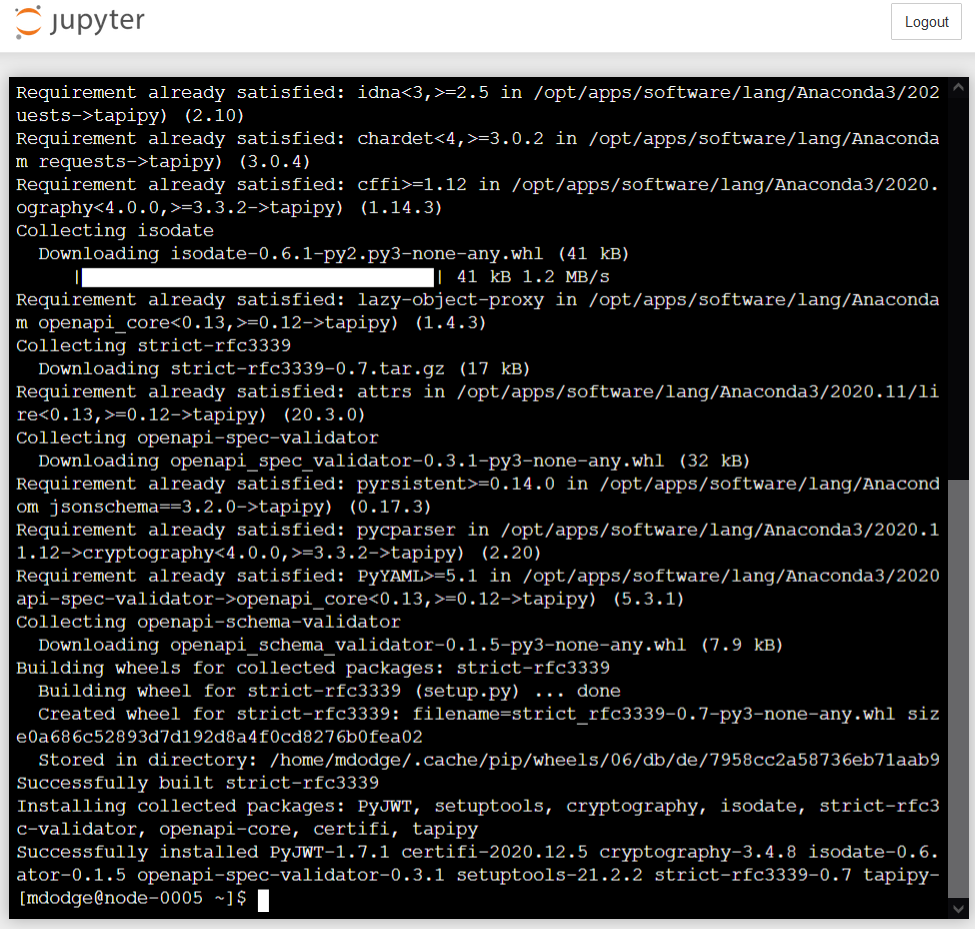
python -m pip install tapipy
What this does…
This runs python and tells it to execute the “pip” module, then tells pip to install tapipy.
When it’s done, you should see the following:
Get a sample notebook
We’re going to use git to download the latest version of the Jupyter Notebook for this workshop.
Git is an application that helps with collaborative software development.
Its clone command allows us to download the entire project folder (called a Repository) in a simple and reproducible manner.
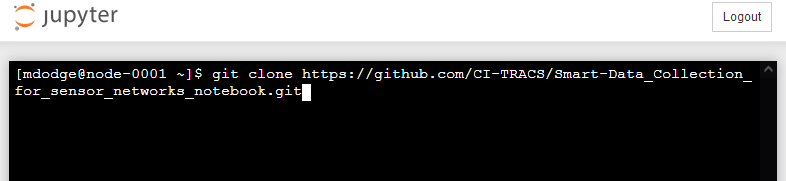
Run the following command:
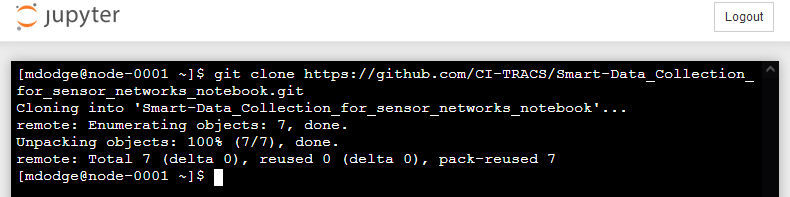
git clone https://github.com/CI-TRACS/Smart-Data_Collection_for_sensor_networks_notebook.git
It will take a few seconds to load, then you should see the following.
Now, let’s get to editing the notebook!
Open the notebook for editing
Now that we’ve cloned the notebook repository to the ~/Smart-Data_collection_for_sensor_networks_notebook directory, it’s time to go there and open up the notebook.
Go back to the Jupyter Home interface, where you should see a screen like this:
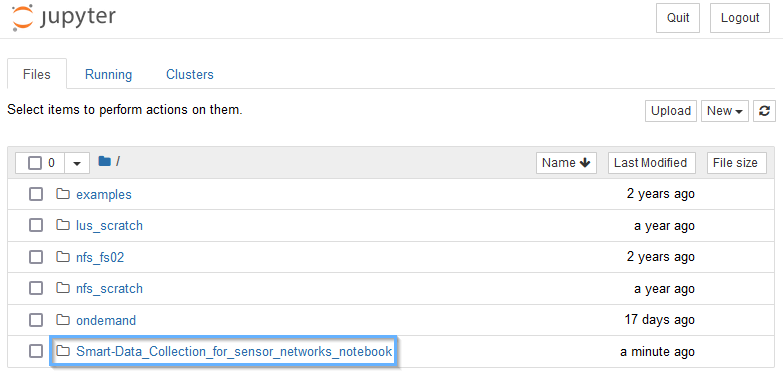
Click Smart-Data_Collection_for_sensor_networks_notebook to enter our newly downloaded folder.
The new folder includes our notebook, and any other files we will happen to need.
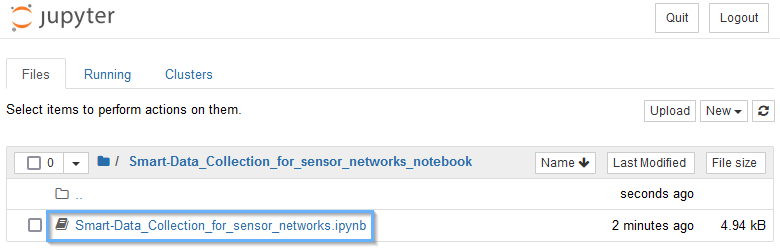
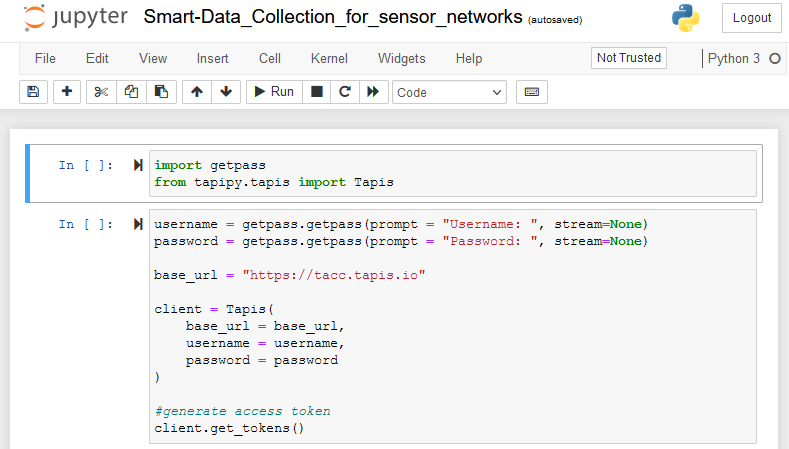
Finally, click the Smart-Data_Collection_for_sensor_networks.ipynb file to open our notebook.
The notebook should now be open, and ready to edit!
Key Points
- Koa’s web interface provides a terminal for the machine that the notebook runs on.
- You can install and import new python libraries to support a notebook.
Bio Break!
Let’s take a brief break to stretch before moving on to the next page. See you in a few minutes.